HW 0 (Getting Started)
Welcome to CS 111! This homework assignment has 3 parts: course setup logistics, command line basics, and your first programming activity.
Assignment logistics
This is an individual assignment. You are welcome to discuss any part of the assignment with classmates, course staff or Anna. For Part 3 (the programming activity), make sure to cite any help you receive in the "acknowlegdements" portion of the assignment.
This assignment is due at 10PM on Wednesday, April 1.
Part 1: Course setup logistics
- Log into Moodle: log into our course Moodle page. Class materials, readings, and homework will be posted here.
- Complete Monday's pre-class tasks: If you haven't yet, complete Monday's pre-class tasks: reading the syllabus, filling out the background survey and logging into Ed, our Q&A platform.
- Optional, but recommended: Set up your computer for development
Personal computer development setup
I encourage you to work in the computer science labs in Olin: the computers have everything we need, working on a larger screen is nice especially for partnered assignments, and the labs (specifically, Olin 310) are often staffed with studnet lab assistants who can help you with your work. But sometimes, it may be more convenient to work on your own computer. If you'd like to have this as an option, you'll need to install Python and VSCode, and know how to access the COURSES drive.
- Python and VSCode setup for Macs
- Python and VSCode setup for Windows
- Instructions to mount COURSES on your computer
The CS Department educational associate, Aadi Akyianu (akyianun@carleton.edu) will be hosting in person sessions to help students setup Python on their own computers. The sessions are Tuesday 5-7pm and Wednesday 7-8:30pm in Olin 306/308.
If you run into any issues with the setup, please reach out for help! The best person to help is Mike Tie (mtie@carleton.edu, Olin 337). Mike is the technical director for the CS department and will be able to help you solve any issue. I'm also happy to try to help during my office hours (but we may end up needed to reach out to Mike, anyways).
Part 2: "Command line" basics
In class we'll frequently use a tool on the computers called "command line". Back in the old days (1960s-70s), computers didn't have the fancy displays they do now. Instead, monitors could only show text with 80 characters per line and 25 lines on the screen. As a result, anytime you wanted to do anything, you had to type commands onto the computer screen. For instance (I'm making up syntax here, but the general idea holds), "run chrome" could open up Google Chrome in the background, and then "search Carleton College" could perform a Google search for Carleton.
Fortunately, we now have nice graphical displays on our computers, but for certain tasks, using command line is much easier than using the mouse-and-graphics interface.
To complete this part of the assignment, log into one of the CS lab machines in Olin 310 or 308. You can also run these instructions on your own computer, but not that they're written for Mac. Certain details differ when working with command line in Windows, so these exact instructions won't work.
After logging in, open VSCode and mount the courses drive
(follow these instructions).
In VSCode, you should be in a new window. If not, go to the File menu and select New Window. Then, go to your student work folder in the
Finder (go to the CS111-01-26SP folder, then to the StuWork, then to the folder with your username). Create a new folder within that
folder called hw0 by going to the File menu and selecting New Folder. Drag this new folder onto a new window in VSCode. Then, go to the
Terminal menu in VSCode and select New Terminal.
Your VSCode window will now look something like this:
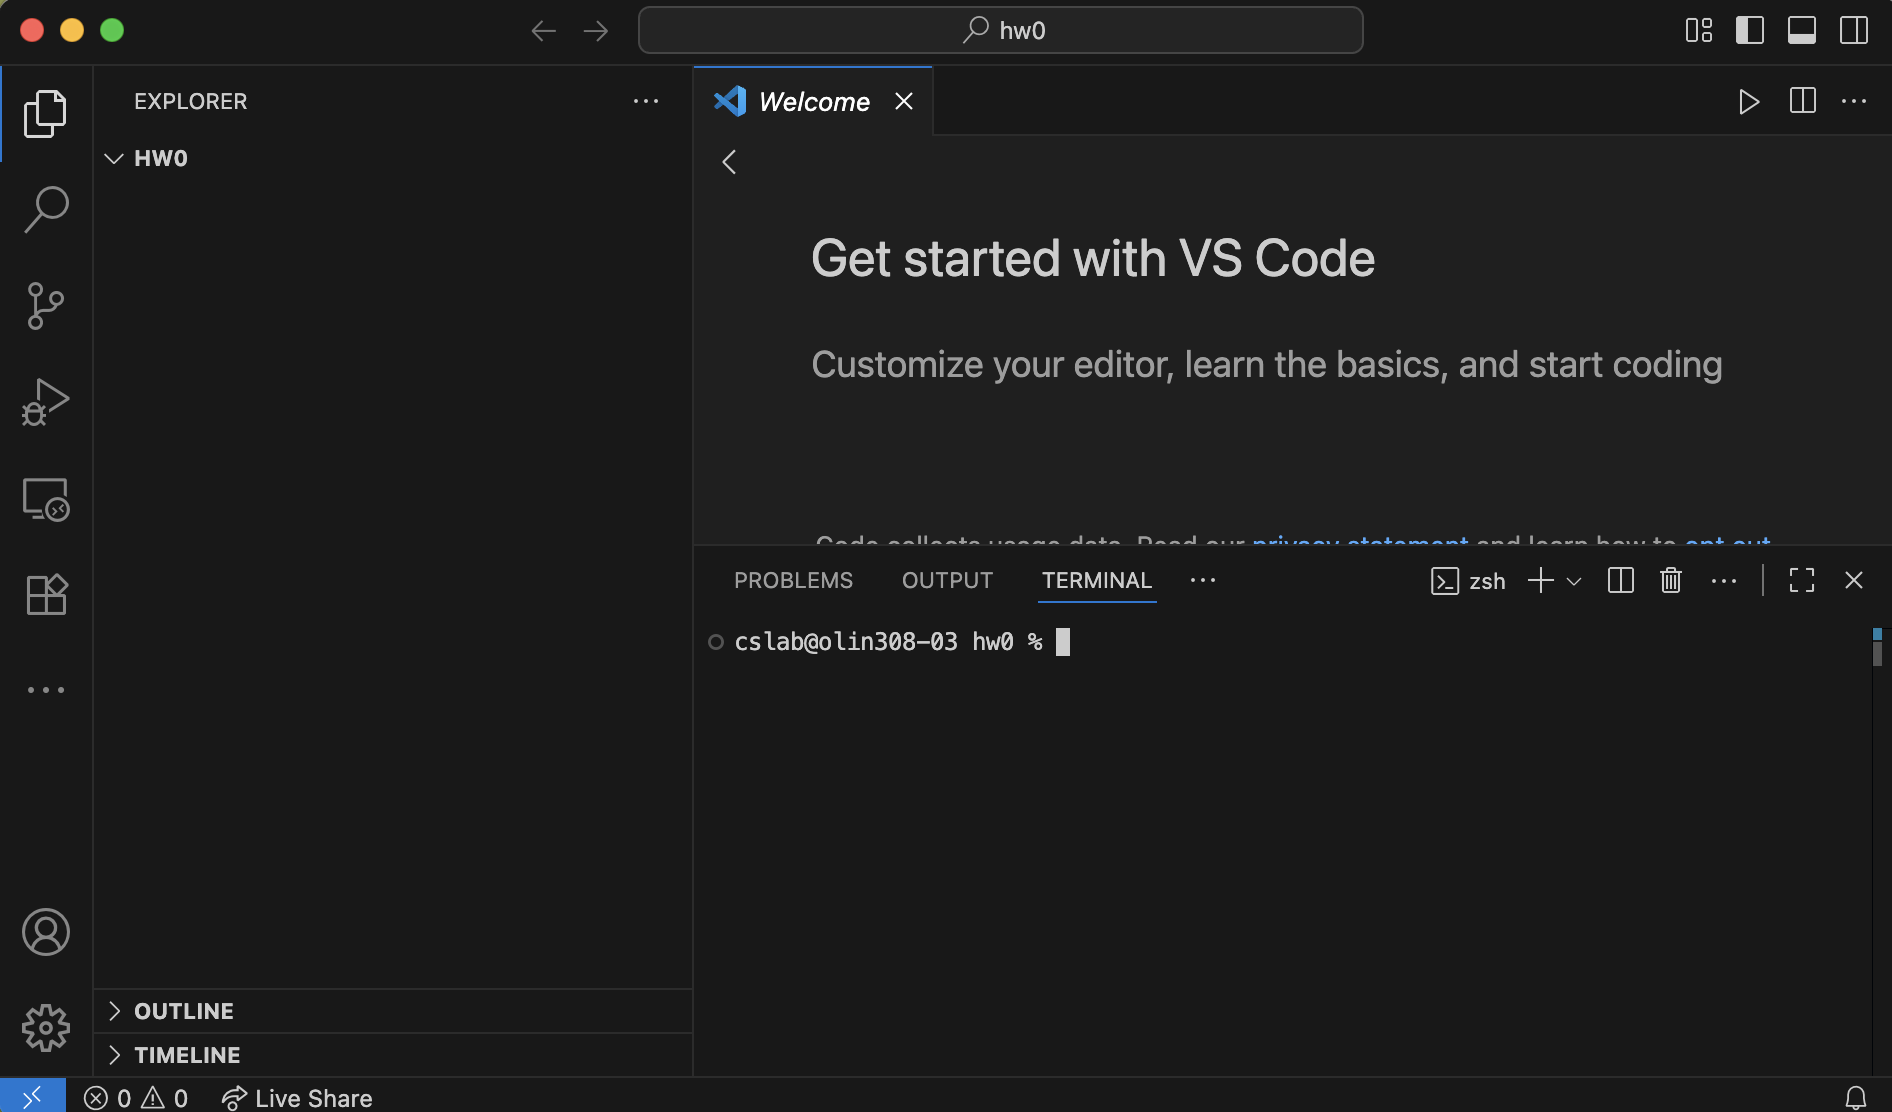
To double check that everything is correct, click next to the % or $ on the bottom part of the window (whether this is symbol is % or
$ just depends on the exact computer you're on), type pwd, and press enter.

Your prompt will look a little different, instead of InstructorWork you should see StuWork/username where username
is your Carleton username.
If you don't see something printed that starts with /Volumes/COURSES/CS111-01-26SP/StuWork/ and then has your username and hw0, then
something has gone wrong. Try again, or reach out for help. If you see COURSES-1 instead of COURSES, that is fine.
We call the area following the $ or % the command line. You just typed pwd at the prompt. This command, short for "print working
directory" prints the path of the directory you are currently in (i.e., the "address" of your current folder on the computer).
Now, go through Typographical Conventions, Introduction to UNIX Operating System, and Tutorials 1-3 of this tutorial. The tutorials were originally created over 25 years ago, but they're still accurate-enough for us. A few notes and minor discrepancies are:
- Warning: if you end up in the wrong directory (e.g., by typing
cd ..an extra time) it may be hard to find your way back to the correct directory so commands likecd unixstuffmight fail. If you find yourself in this situation, close VSCode and then reopen it by dragging the HW0 folder over. - The
lscommand is shorthand for "list". Thus, it's the lowercase letter l, then the letter s. Adding this note because the number 1 and lowercase l look identical in the tutorial's font. - The final character of the prompt on the tutorial is %. For us, this will be $ or % depending on the computer.
- We'll generally start a Terminal session directly in VSCode. The Intro to UNIX portion of the tutorial describes opening the standalone terminal app which also works, it just doesn't bring to your current folder the way that the VSCode terminal does.
For this part of the assignment, you will hand in the biglist file that you create in Exercise 3a.
Part 3: Programming
This part of the assignment has two purposes. First, I want you to practice writing code, since that's what we'll be doing the rest of the term! And second, I want to familiarize everyone with the mechanics of assignments will work in this class. This includes file formatting, assignment submission on Gradescope, and understanding the autograder on Gradescope.
Before getting started, I want to remind you that this course's policy is that you cannot use search engines or generative AI (including the Copilot extension in VSCode) when working on homework assignments. You may, however, use and cite the official Python documentation.
Step 1: Creating your file
Create a file called hello.py. Whenever you create a file for a homework assignment in this class, you are expected to provide a file header with the
following format:
# File: hello.py
# Author: Ada Lovelace
# Purpose: Implements Assignment 0 (asks a user for their name and age and then
#          greets them)

# Acknowledgements
# Alan Turing (lab assistant) helped me find the documentation for print()
# Schiller explained to me that the Autograder checks for spacing so I need to
#         adjust how I use print

# Reflections
# Part 2 of the assignment took me a long time because at first I wasn't being thorough at following
# the instructions. But then the coding part of the assignment was pretty easy because I looked at
# my notes from class and got help as explained above.
# I spent 3 hours on this assignment.
Here's another example:
# File: hello.py
# Author: Grace Hopper
# Purpose: Assignment 0

# Acknowledgements
# I worked alone, but looked Runestone 2.15 was helpful for reminding me how input() works.

# Reflections
# I started the assignment late and so I felt rushed to finish it on time. It was hard to
# figure out that I needed to call int() on the user input but once I did that it went ok.
# Next time I should start earlier so that it's less stressful!
# I spent 2 hours on this assignment.
Step 2: Writing the code
In hello.py, write a program that asks the user for their first and last name, and then greets them by name. Your program should also ask their age and then give
them an estimate of the number of days old they are (assuming exactly 365 days per year).
Here is an example interaction that your program should be able to mimic:
Hello there!
What is your first name? Lulu
What is your last name? Amert
How old are you, in years? 13

Have a great day, Lulu Amert!
You are approximately 4745 days old.
Here's another example:
Hello there!
What is your first name? Cheddar
What is your last name? Amert
How old are you, in years? 1

Have a great day, Cheddar Amert!
You are approximately 365 days old.
Hint: if you're stuck, try looking at Section 2.15 of Runestone
Step 3: Adding comments
Any program with more than a few lines of code should have comments describing what different blocks of the code do. We'll learn more about good commenting style in the next couple of weeks, but for now you should add a couple of comments describing how your code works so that someone who reads your program can easily tell what is happening. You should also make sure that your variables have descriptive names. The graders will give feedback on your coding style to help you improve it.
Step 4: Final pieces
If you got help from anyone or any external sources, remember to put this in the acknowledgements section of the header. Take a moment to fill out the reflections portion of the header, as well. What went well in this assignment? What was challenging? Are there any strategies that you're going to remember for next time? Include an estimate of how long you spent on this assignment (all pieces).
Assignment submission and misc. notes
Handing in the assignment
You need to hand in Part 3 on Gradescope (see Moodle for the link to Gradescope).
Specifically, you should upload your Python file hello.py. The assignment is due at 10PM on April 1, but as
with all assignments, I've added a 1-hour buffer to the Gradescope submission deadline to account for occasional technical difficulties.
You may resubmit your code as many times as you wish before the deadline to fix any issues that you identify.
Grading
The assignment will be graded out of 20 points total.
- 5 points: Part 1 (the parts we can check: logging into Moodle and Ed, filling out the background survey)
- 5 points: Part 2. Are the list's contents correct?
- 5 points: Part 3 correctness. Can the user interact with your program as expected?
- 5 points: Part 3 style. Do you have an appropriate header and comments in your python file? This includes having acknowledgements and a reflection.
Anna's acknowledgements
Portions of this assignment were borrowed from Layla Oesper and Tanya Amert (in particular, the pet names in the hello.py examples are Tanya's pets!).
Thanks for sharing!